The Ferrari 360’s F1 actuator is a hydraulic unit that shifts the car’s transmission in the same way that a manual transmission is shifted (up-down, left-right). In order to know how far the transmission has moved in either direction, the TCU (Transmission Control Unit) relies on 2 potentiometers that return a range from 0 to 5 volts depending on how far the unit has moved. These sensors are connected via a shaft that rotates as the actuator moves.
Unfortunately, these sensors are known to fail and the entire harness from Ferrari costs over $1,500 each. Fortunately, we can build these harnesses from scratch for a little over $100 and end up with a design that allows for easily swapping the sensor during normal maintenance.
Parts needed:
- Weather Pack Connectors that plug into the car ($20): https://www.amazon.com/gp/product/B0B9ZJHBM7?tag=namespacebran131-20&asc_campaign=2b5a785186b501c352c95398a3440b1b&asc_source=01G8XG0GEG1CT4D3C07B4FAY7P&ie=UTF8&th=1
- Connectors that plug into the sensor ($11): https://www.amazon.com/gp/product/B01F7S5A7W?tag=namespacebran645-20&asc_source=01H78KDR744R7TP897SJG2W3HM&ie=UTF8&psc=1
- A Weather Pack crimper ($17): https://www.amazon.com/gp/product/B071KFLY43/ref=ppx_yo_dt_b_search_asin_title?ie=UTF8&psc=1
- 3 conductor wire ($30): https://www.amazon.com/gp/product/B09ZY2PHDB/ref=ppx_yo_dt_b_search_asin_title?ie=UTF8&psc=1
- The sensor itself ($30): https://www.amazon.com/gp/product/B08TVSNT25/ref=ppx_yo_dt_b_search_asin_title?ie=UTF8&psc=1
Step 1: Cut and strip the wire
The stock harness is of <n> cm in length. Strip ~ 50 mm from the cable. Strip 5 mm from each wire

Step 2: Crimp each terminal in one end of the wire to the WeatherPack 4 pin connector pins
Use the crimper to crimp the 3 wires. Note that even though we are using a 4 pin connector, Ferrari only uses 3 of the pins. Note that the wire does not go through the connector female end. It is crimped just after the silicone sealer crimp.

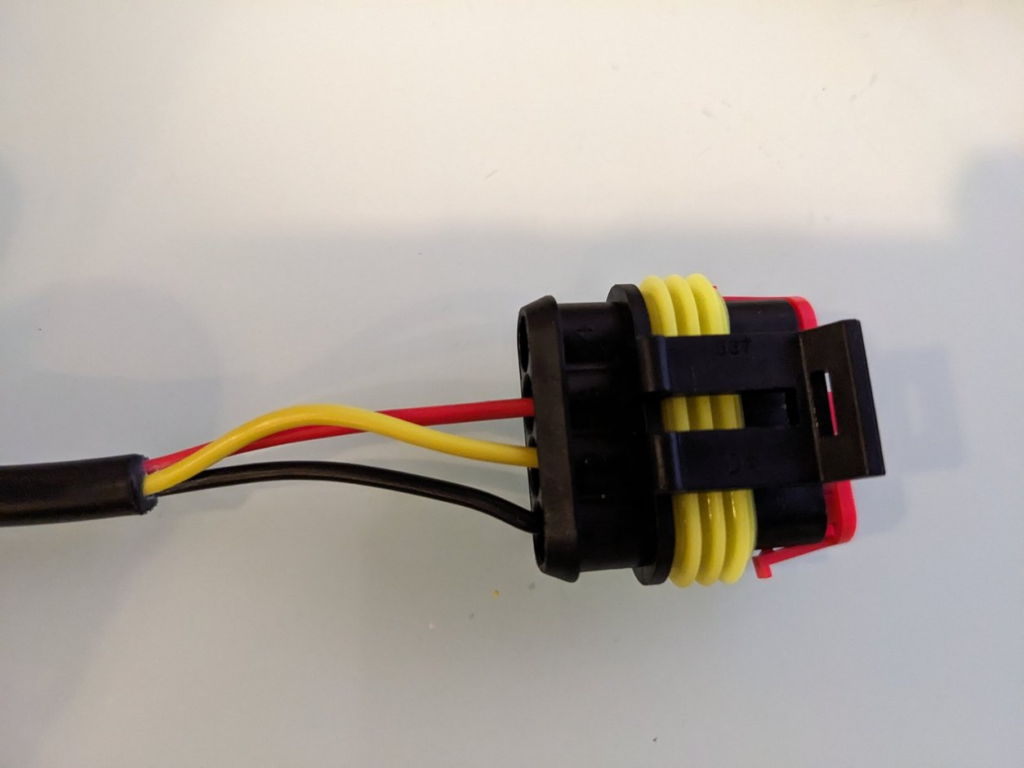
Step 3: Attach the wires to the connector
The order is black, yellow, and red. Left-to-right, with the connector clip facing down.
Step 4: Crimp the sensor-side wires
This connector is a pull-to-seat kind. Pull the wires through the seal and connector prior to crimping the pins. The order is red, yellow, black. Left-to-right, with the connector clip facing down.
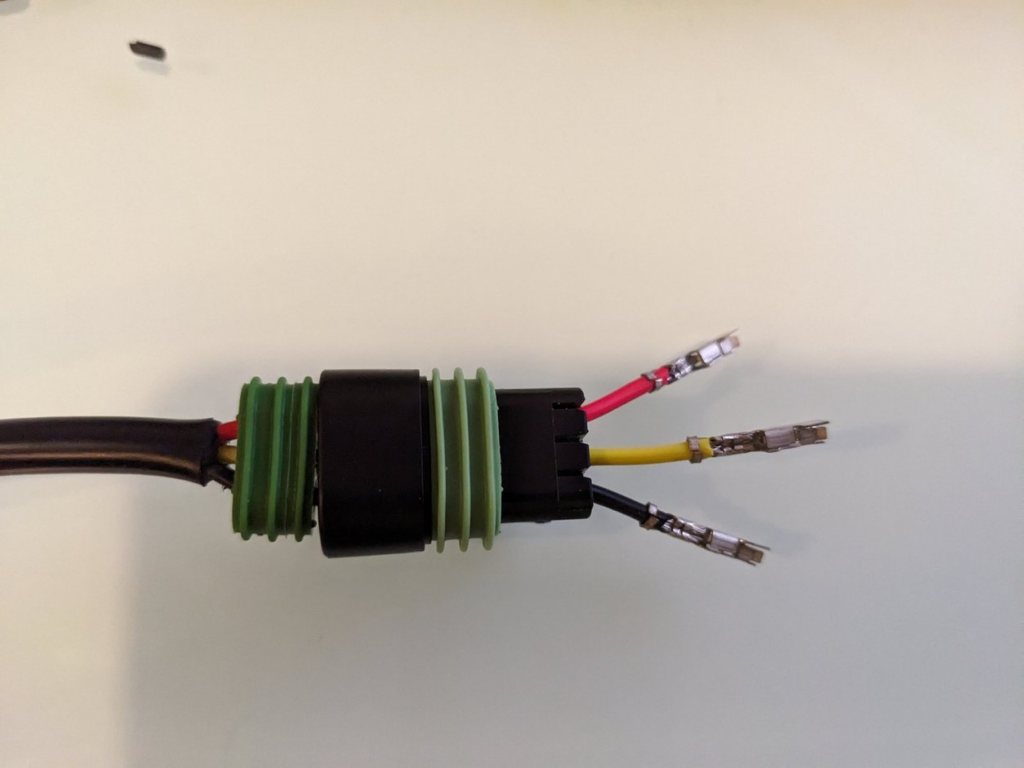
Pull the wires back to seat them in place.

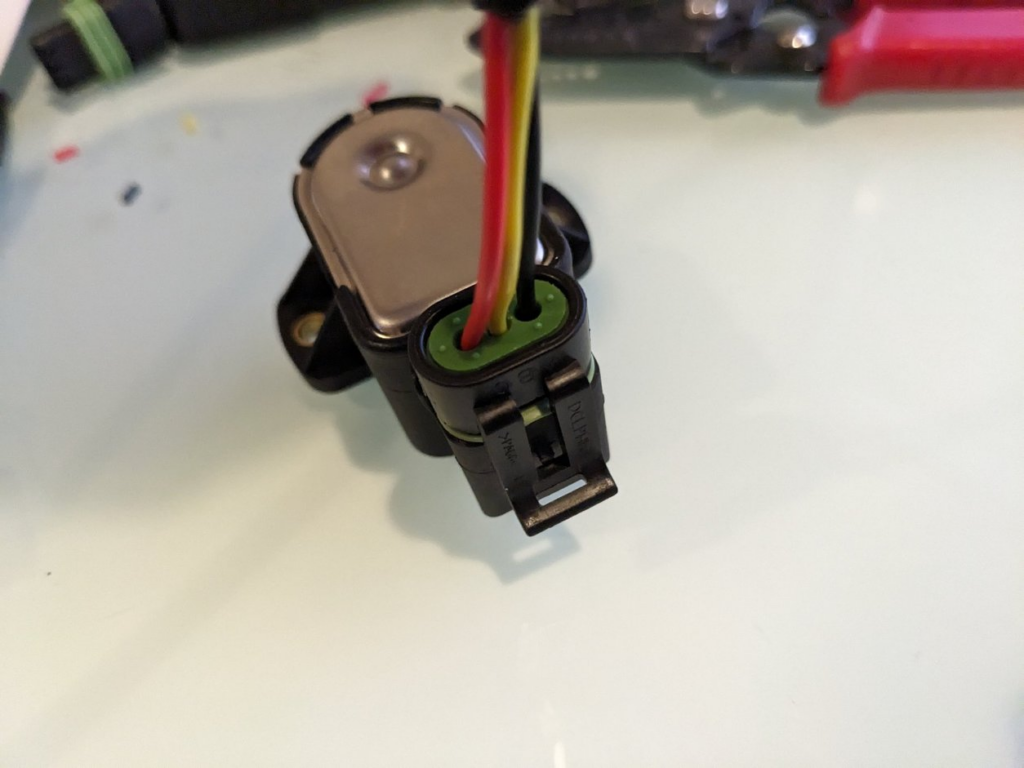
The connector should fit into the sensor like so:
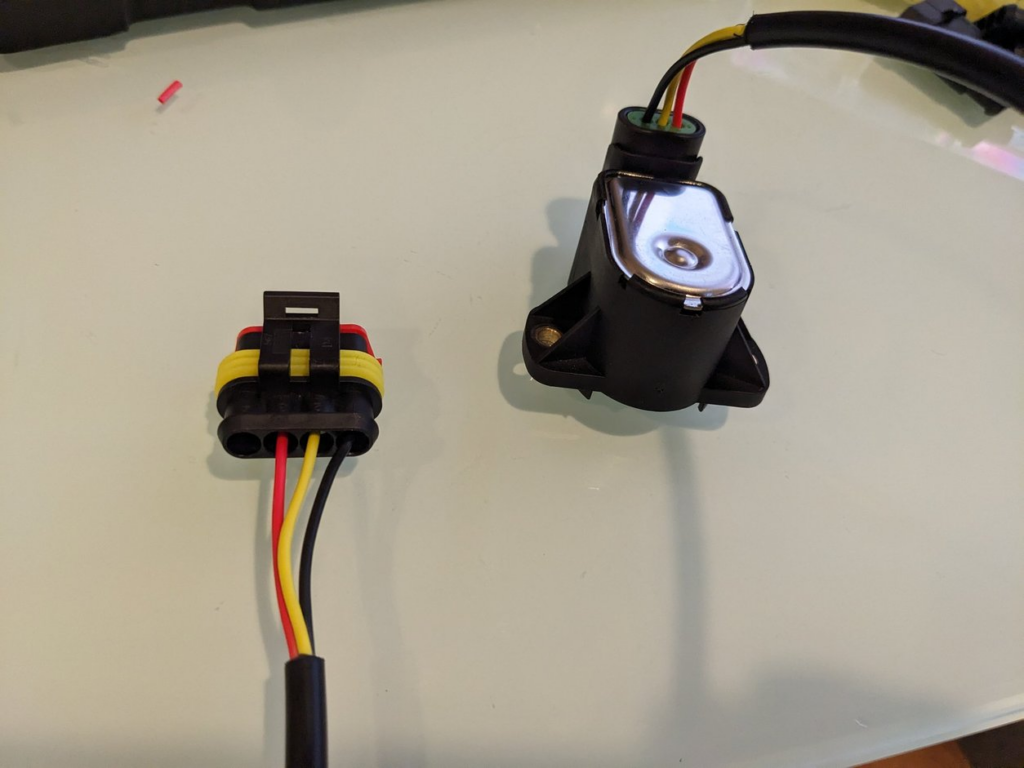
The finished product:
Step 6: Install the sensor in your car
The engagement sensor can be replaced without removing the bumper or detaching the hydraulic actuator. The same cannot be said for the selection sensor. Removal of the actuator necessitates cleaning and re-making the seal using RTV or something similar.
This is how they look installed:
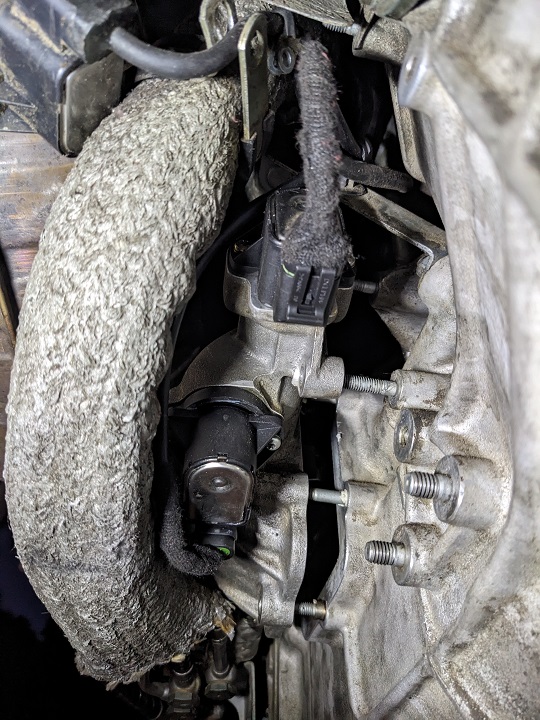
Note that I wrapped the extra unsheathed wiring with adhesive wiring loom cloth tape. That’s probably not necessary and Ferrari took no such precaution with its wiring harnesses.
Ensure that the connector shaft did not fall out of place. If it fell out of place, your car could end up breaking this part. Do not begin the self-learn if this shaft is not correctly in place. The shaft fits into a groove inside the F1 actuator:

Step 7: Initiate the self-learn
You will need a scan tool that is capable of initiating a self-learn. I use a Launch x431: https://www.amazon.com/gp/product/B088FWPQ1F/ref=ppx_yo_dt_b_search_asin_title?ie=UTF8&psc=1
This must be done with the engine off. The car will begin shifting back-and-forth through each gear until it reaches 6th gear. If the procedure is interrupted by 2 beeps, do not proceed any further. Something has failed. If the procedure ends after cycling through all the gears, then the self-learn has succeeded.
If the self-learn does not succeed, it is possible that you have a mechanical issue, such as a broken shaft that the sensor connects to. Ferrari does not sell that part separate from the actuator (at a $7500 cost). But this can be manufactured. See this page.
How long is the stock harness?